Posts tagged wedding
New Orleans Bachelorette DIY (featured on GWS)

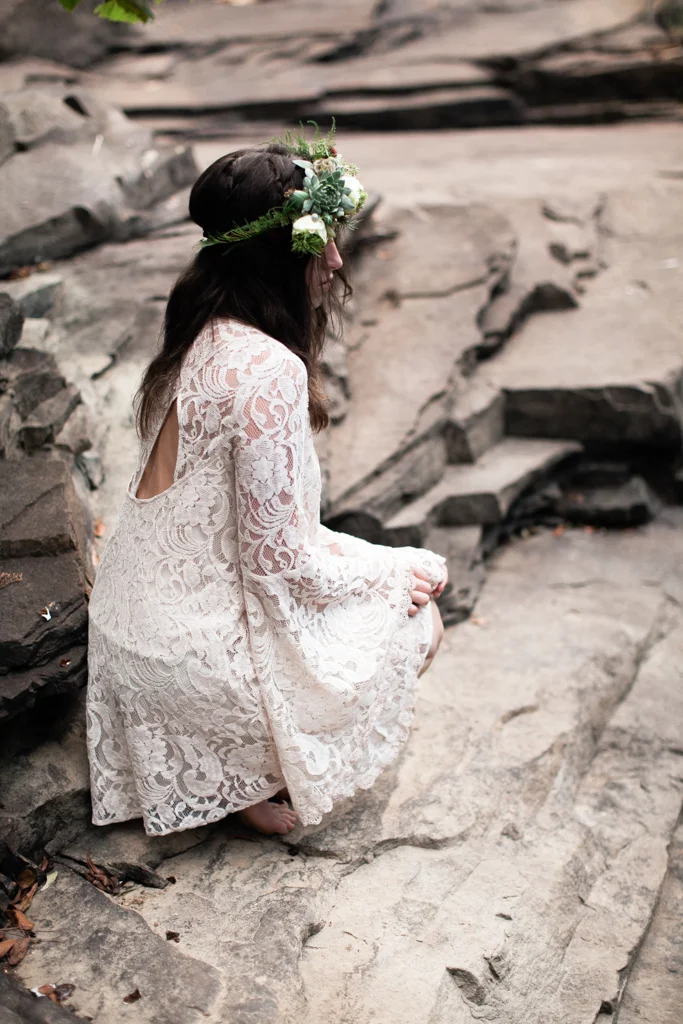
Getting away with my girls was one of my favorite parts of journeying down the aisle so far! The process of actually making it to the alter is full of so many tasks (however fun they may be) and different stresses. A weekend away is such a special way to re-focus and really celebrate everything that comes along with being engaged.

Today this post is featured on our Green Wedding Shoes series A Blogger Gets Married. I'm so excited to dish out all of the details so head on over to hear all about our magical day.

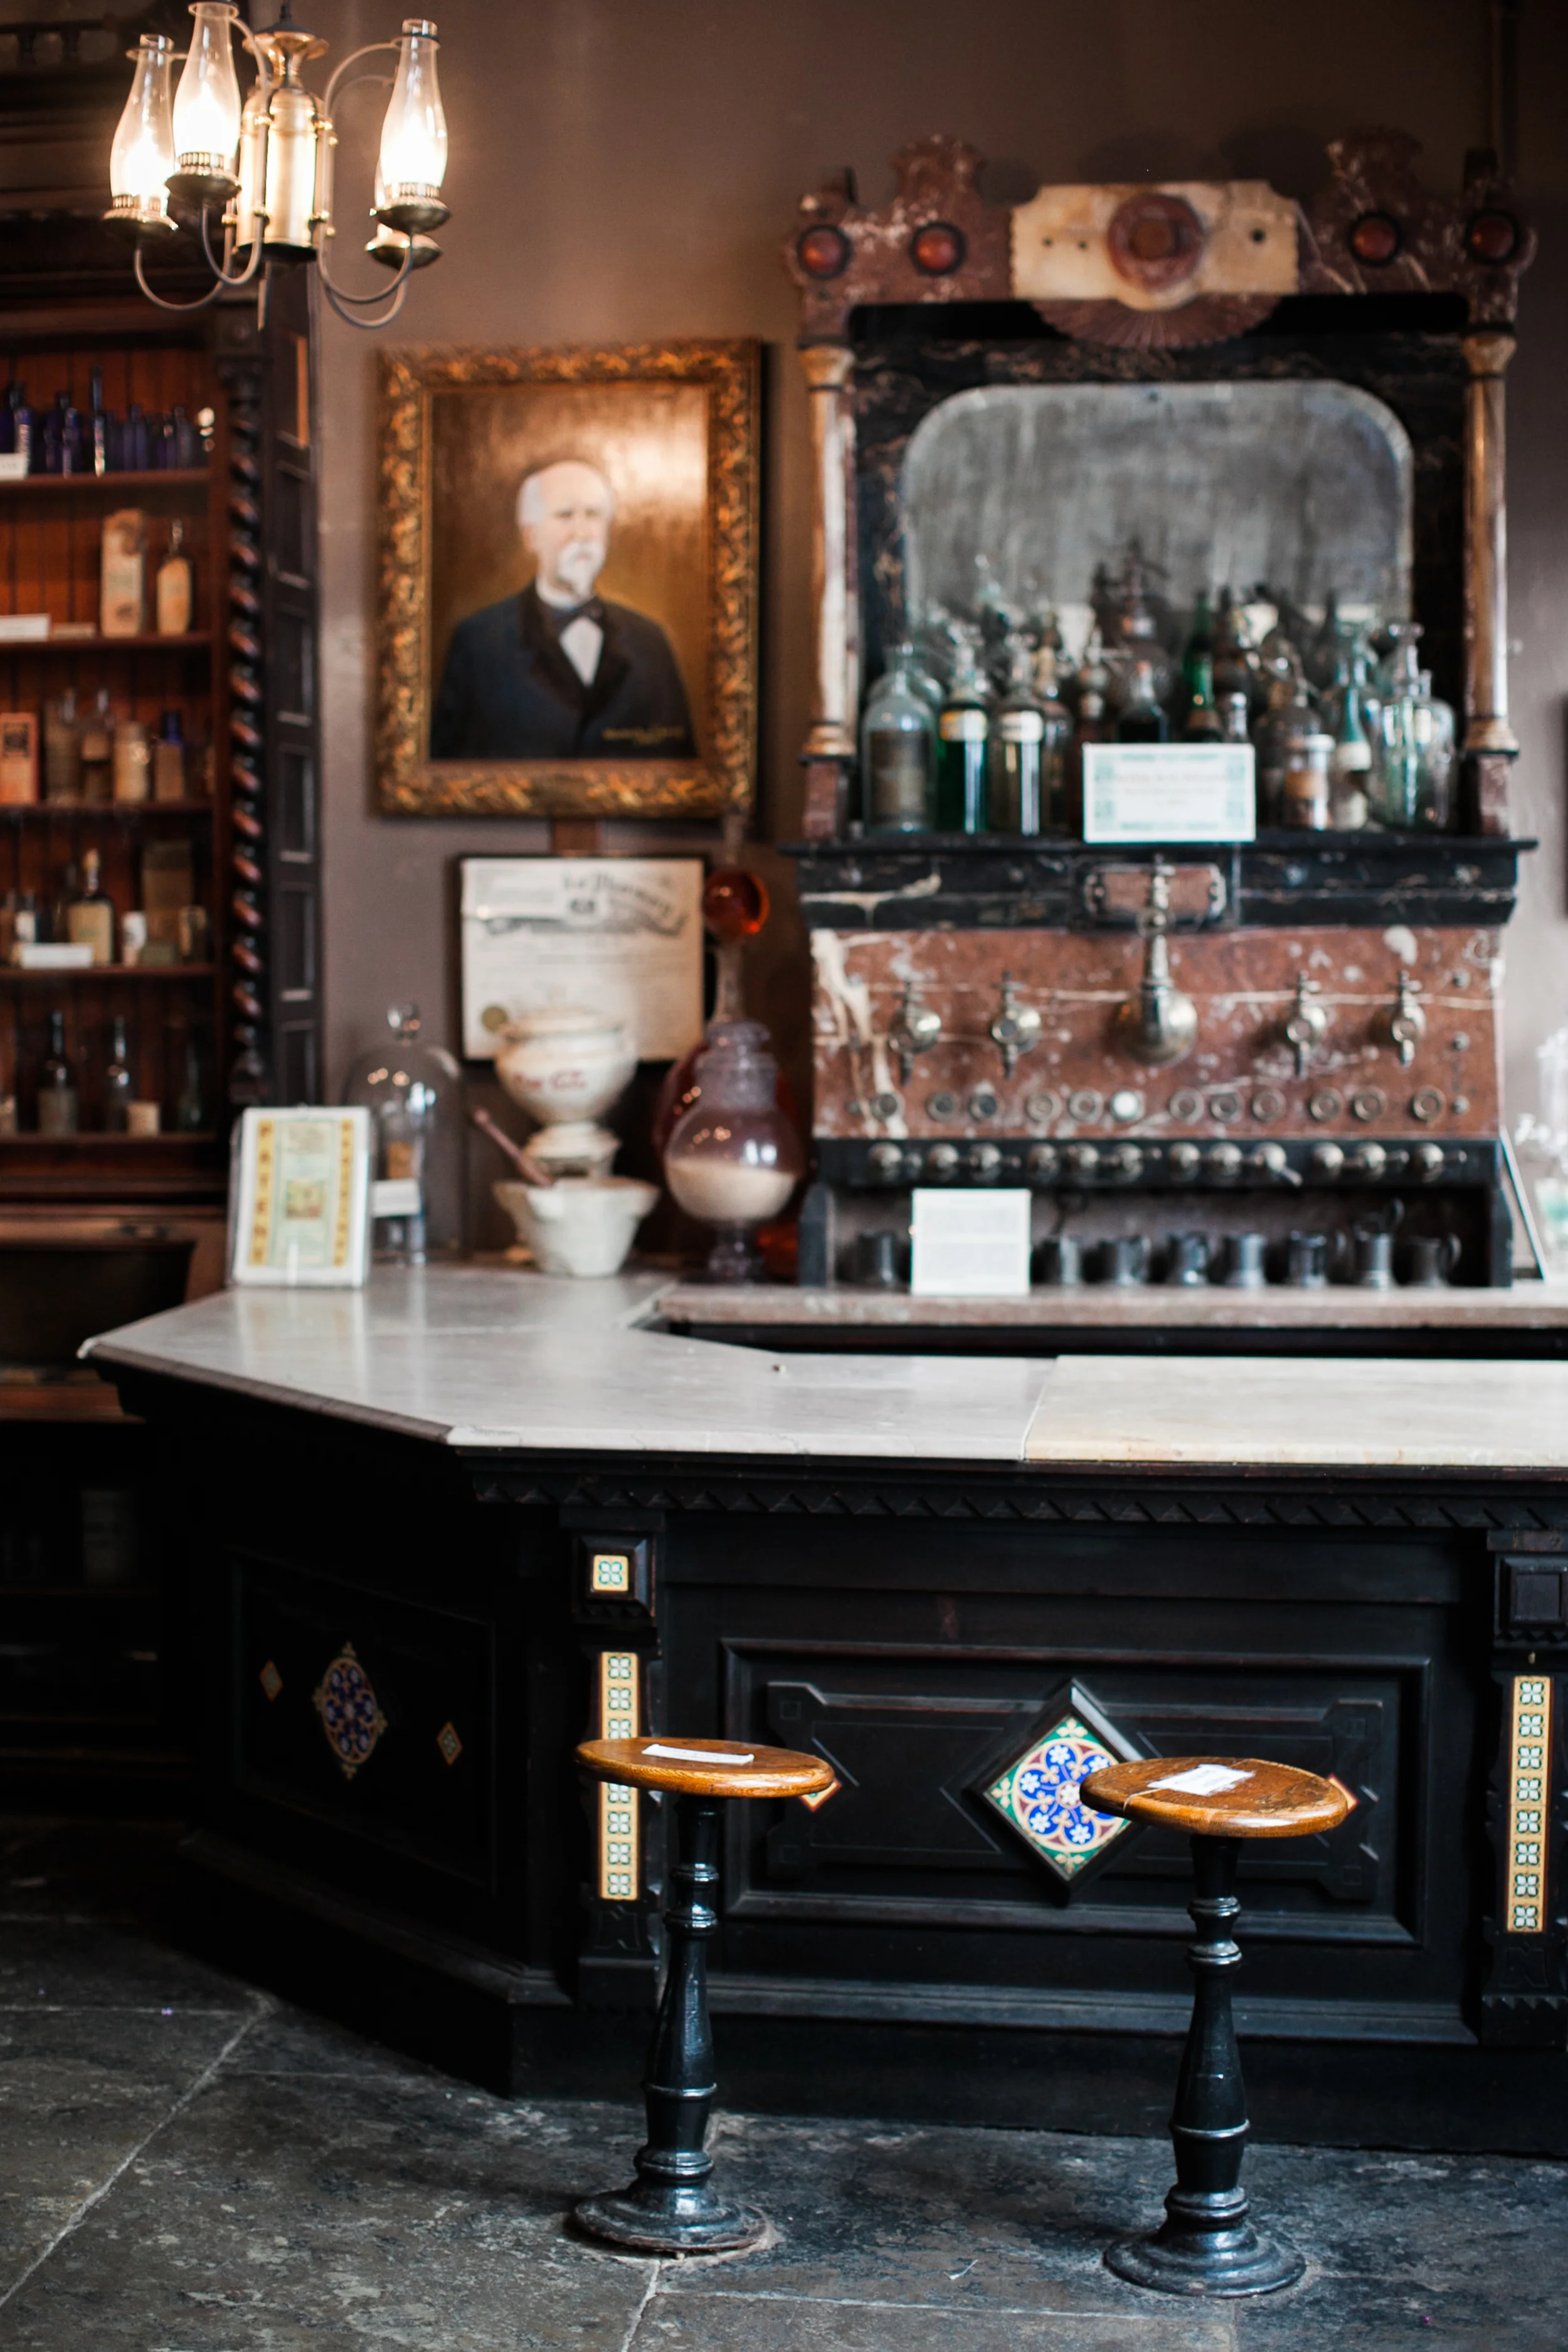
styling: Hazel + Scout | photography: Sleepy Fox Photography | location: New Orleans Pharmacy Museum | floral design: Pistil & Stamen | Rentals: Pret A Fete | Calligraphy: Linen & Leaf | planning: Wander & Whisk

Bridesmiads Hair: 2 Step Boho Mini-Braids

The last bridesmaids hairstyle from our waterfall shoot (pop on over to GWS for that) is super simple and perfect for special occasions AND everyday.

Step one: Part your hair in the middle. Add texture to straight hair by loosely curling a few sections away from your face. Next, add dry shampoo and mess things up a bit!

Step two: Create four mini-braids (two on each side of your part) throughout your hair. Don't worry about being precise or keeping braids tight... things should look bohemian and relaxed.

Step three (optional): Add a flower crown or interesting headpiece for more fun.

Photography: Sleepy Fox Photography
Styling: Hazel & Scout
Hair: Twiggy Romei
Floral Design: Simpsons Florist
Dress: Free People
Model: Brynae Goldsmith

Bridesmaids Hair: How-to Braided Ponytail

I'm so excited to share this simple hair tutorial from our beautiful bridesmaids shoot (seen on Green Wedding Shoes here). I love an effortless ponytail with a little bit of added beauty!

Step one: Part your hair on one side. Leaving a large chunk out (from your part to the opposite side of your head) gather your hair into a low ponytail.

Step two: Secure your ponytail with a clear elastic.

Step Three: With the remaining loose hair, create a french braid down the length of your face. Either tuck hair into the first elastic or, if you have thicker strands, add another rubber band around the base of your ponytail AND your braid.

Step Four: Wrap a thick strand of hair from your ponytail around the elastic (to disguise it) and tuck the hair underneath.

Step Five (optional): Add a succulent crown or beautiful headpiece for a little more pizazz.

Photography: Sleepy Fox Photography
Styling: Hazel & Scout
Hair: Twiggy Romei
Floral Design: Simpsons Florist
Dress: Free People
Model: Rebecca Tillman